It’s not possible to create tables directly inside the Learnclick quiz editor, but you can copy a table from an other editor and paste it. I recommend using an online editor like Google Docs as copying tables from Microsoft Word doesn’t work well (Libre Office works better).
In Google Docs, you click on Insert -> Table.
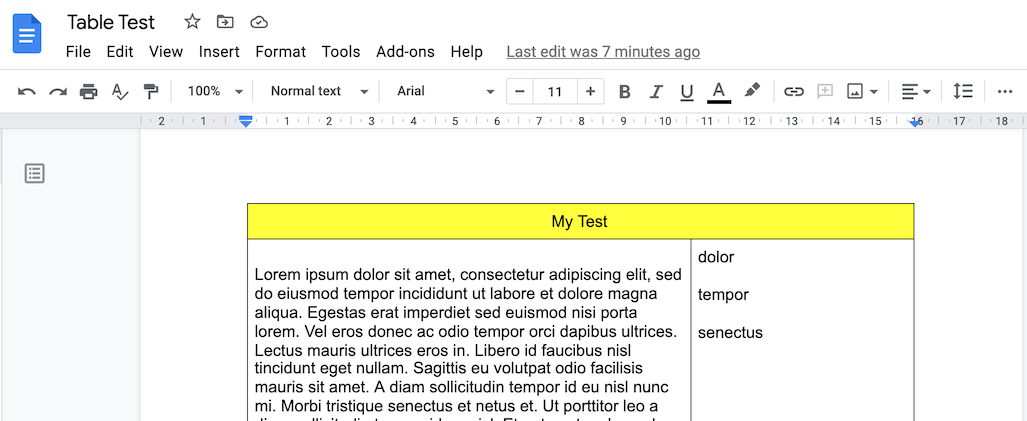
If you want to add a background to a cell, you just click into it and then right-click and choose “Table properties”. You will see the option “Cell background color”.
Under “Table properties” you can also change the width of the table.
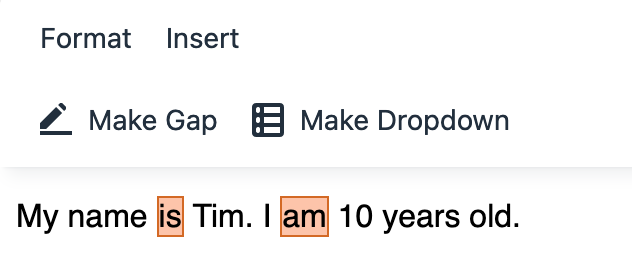
Now you can copy and paste it into the Learnclick editor and mark the words you want to turn into gaps:

Advanced: Add scrolling
If you have a long text and you want the text on the side to always remain visible, you will need to add tags that surround the main text. For this you will need to edit the generated html. Please note that if you don’t know how html works, it’s easy to make a mistake. You might want to use the inbuilt feature “Add header text” instead, which also always remains visible (see https://www.youtube.com/watch?v=hGCl80EOxCg)
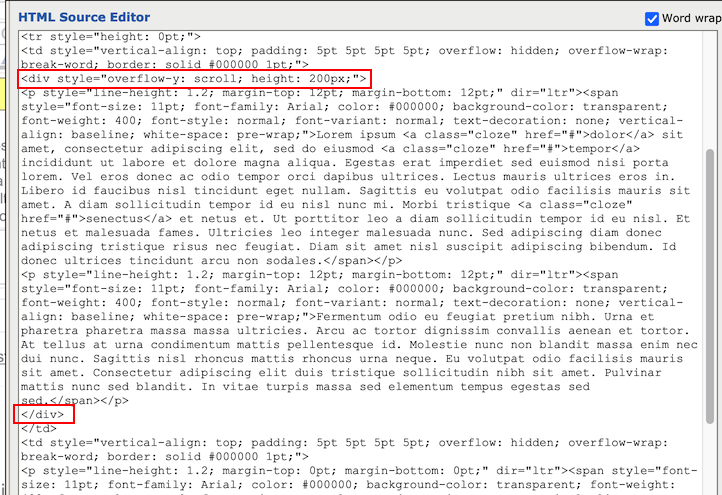
For making the table cell scrollable, click on the button “html”-code
You will need to add a div tag after the td-tag and before the text and any formatting tags.
<div style=”overflow-y: scroll; height: 200px;”>
You’ll also need to add a closing div-tag before the closing td-tag:
</div>
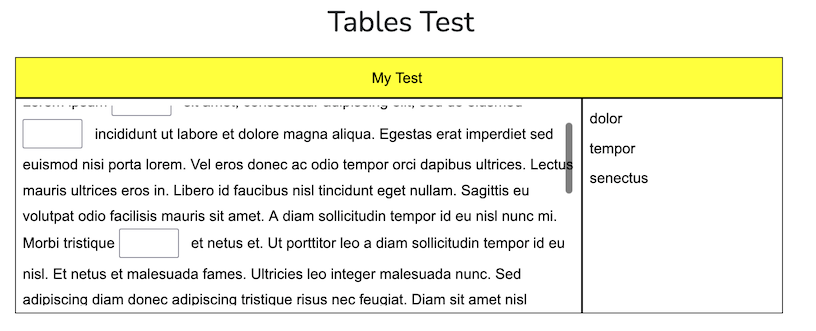
Now one can scroll inside the cell:
